Recommended Reading
If you plan to use User Groups for Office messages, we recommend reading about the Office Message Feature first to familiarize yourself with its functionalities and then proceed with reading this article about User Groups.
Contents
User Groups is a feature that allows you to group members of your practice together using a single word/phrase. Once User Groups are created, you can use the Group name in
Commonly used groups include:
- All Providers
- Billing
- Referrals
- Front Office
- Medical Assistants
- Telehealth Only
- Walk-ins Only
User Groups is a useful feature because it allows you to
- send messages to groups of users in your office based on the function or responsibilities they hold. If you have multiple members of your office who can assist with the same task, you can enter the Group name in the recipient field instead of entering each individual's name one by one. This eliminates the need to remember who is responsible for what tasks as well as saves you time.
- view grouped provider's calendars side by side in the Calendar to easily manage their schedules. You can also compare schedules and find the best availability for patients.
For Admins OnlyTo view the
User Groups Settings page and edit User Groups settings, you must have Admin level privileges. To become an Admin, you must ask an existing Admin level user in your practice (most likely a primary provider level account holder) to grant you privileges via the
Manage Accounts Settings page.
To create a new User Group:
- Click
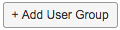
- Fill out the name of the group and then add members of your practice to the group. To add a member, start typing their name where it says “Add provider or staff in practice,” then select their name from the list that appears.
- When finished adding members, click “Save"
To edit an existing User Group:
- Click “edit” on the group you wish to edit.
- Change the group name or add/remove members from the list
- Click “Save"
To remove an existing User Group:
Click “remove” next to the name of the group you wish to remove.
- Open a new office message by clicking on the "Message" or "Msg" button from the gray navigation bar at the top of our Elation Practice Home page or the Patient's chart
- In the "To:" field, type in the name of the User Group you want to send a message to
- Finish drafting the message and click "Send"
All members of the User Group will see the message in their Requiring Action queue.
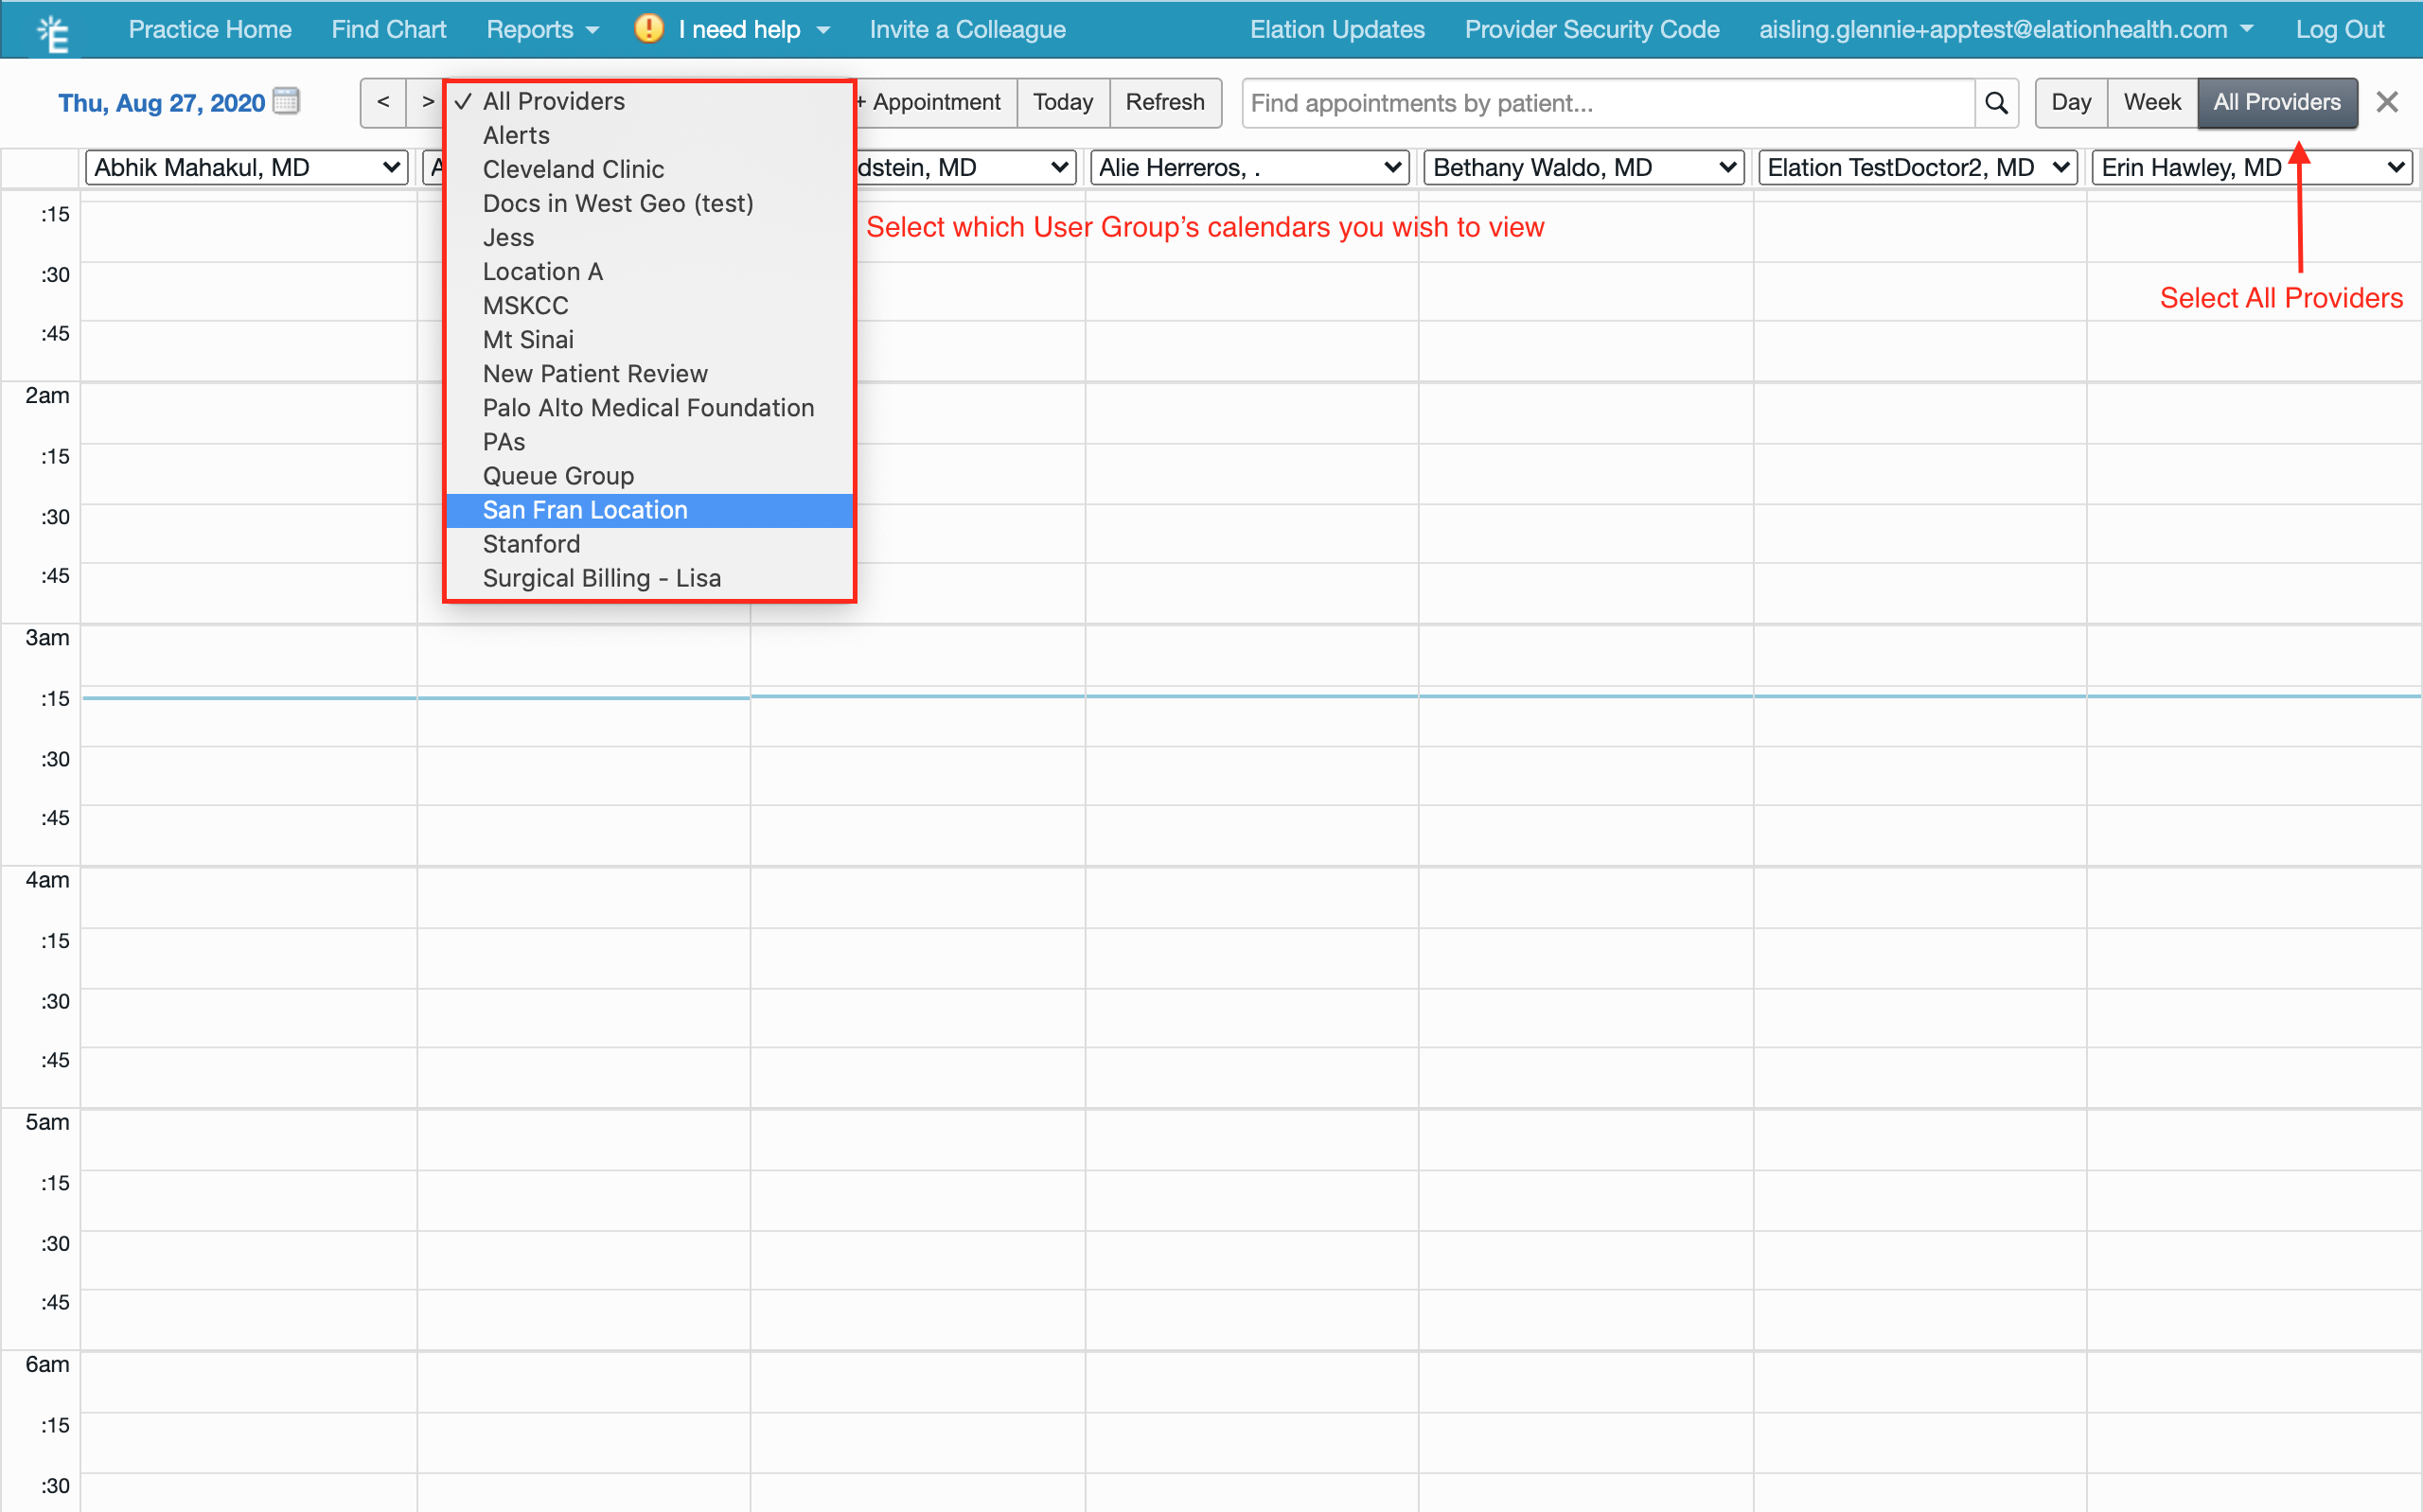
- Click on "Expand" in your Calendar
- Click "All Providers" to view provide calendars side-by-side
- Click the drop down menu, highlighted in the red box below, to filter by which User Group's calendar you wish to view.
Your practice can utilize the User Group functionality by creating a Workspace to segment users by designated operational scenarios. Please reference the Workspaces Introduction for more information on this feature.
Next Step
Create your first user group and send them a quick message!
Related Articles

